
Chocolate Thumbprint Cookies
Introduction
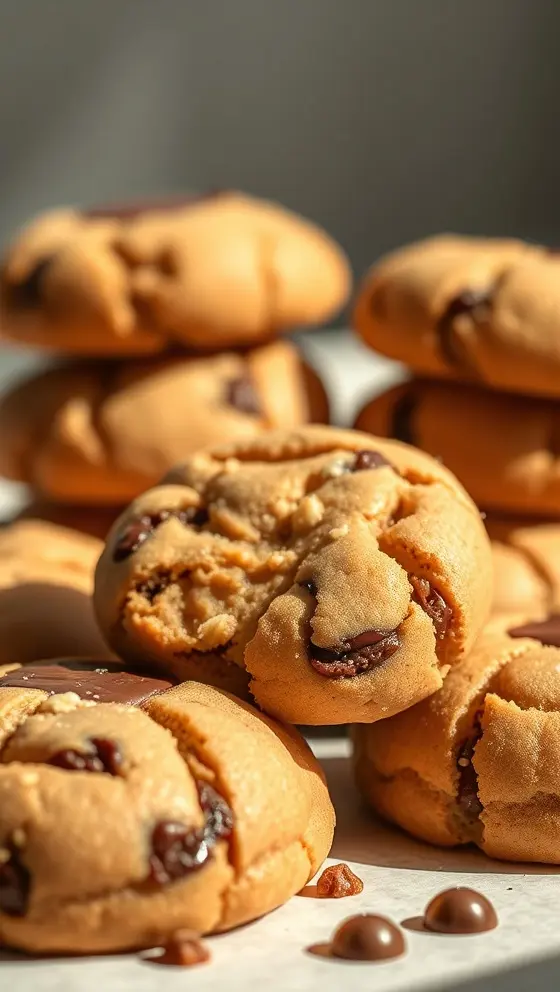
Chocolate Thumbprint Cookies are not only visually stunning but also melt-in-your-mouth delicious. These delightful treats are characterized by their tender, chocolaty dough and the signature thumbprint filled with a luscious jam or chocolate ganache. The combination of rich chocolate flavor and fruity sweetness makes them an irresistible option for any sweet tooth. Whether you’re baking for a special occasion or just treating yourself, these cookies always hit the mark. In this post, we’ll take you through a detailed and easy guide on how to whip up these decadent cookies, ensuring that your baking experience is smooth and enjoyable.
Ingredients List
For this Chocolate Thumbprint Cookies recipe, you will require:
– 1 cup all-purpose flour
– 1/3 cup unsweetened cocoa powder
– 1/4 teaspoon baking powder
– 1/4 teaspoon salt
– 1/2 cup unsalted butter, softened
– 1/2 cup granulated sugar
– 1/4 cup brown sugar, packed
– 1 teaspoon pure vanilla extract
– 1 large egg yolk
– 1/2 cup chocolate chips (for filling)
– Jam or your choice of filling (raspberry, apricot, or chocolate)
Ensure that all the ingredients are at room temperature for a better mixing process. This will enhance the texture of the cookies and ensure an even bake.
Timing
Preparation Time: 20 minutes
Chilling Time: 30 minutes
Baking Time: 12-15 minutes
Total Time: Approximately 1 hour
Having a clear estimate of the timing will allow you to plan your baking session effectively and have a better idea of when those tasty Chocolate Thumbprint Cookies will be ready to indulge in.
Step-by-Step Instructions
1. Prepare the Dough: In a mixing bowl, whisk together the flour, cocoa powder, baking powder, and salt until well combined. This step ensures that the leavening agent is evenly distributed throughout the flour.
2. Cream the Butters and Sugars: In another bowl, beat the softened butter, granulated sugar, and brown sugar together until the mixture is light and fluffy. This process is essential for creating a light texture in your cookies.
3. Add the Egg and Vanilla: Mix in the egg yolk and vanilla extract, ensuring a smooth blend.
4. Combine Dry and Wet Ingredients: Gradually add the dry mixture to the wet ingredients, mixing until just combined. Be careful not to over-mix, as this could lead to tough cookies.
5. Chill the Dough: Cover the dough with plastic wrap and refrigerate for about 30 minutes. Chilling the dough not only helps with easier rolling later but also enhances the flavor.
6. Preheat the Oven: While the dough is chilling, preheat your oven to 350°F (175°C). This step is crucial for ensuring your cookies bake evenly.
7. Form the Cookies: Once chilled, scoop out tablespoon-sized portions of dough and roll them into balls. Arrange them on a baking sheet lined with parchment paper, maintaining sufficient space between cookies.
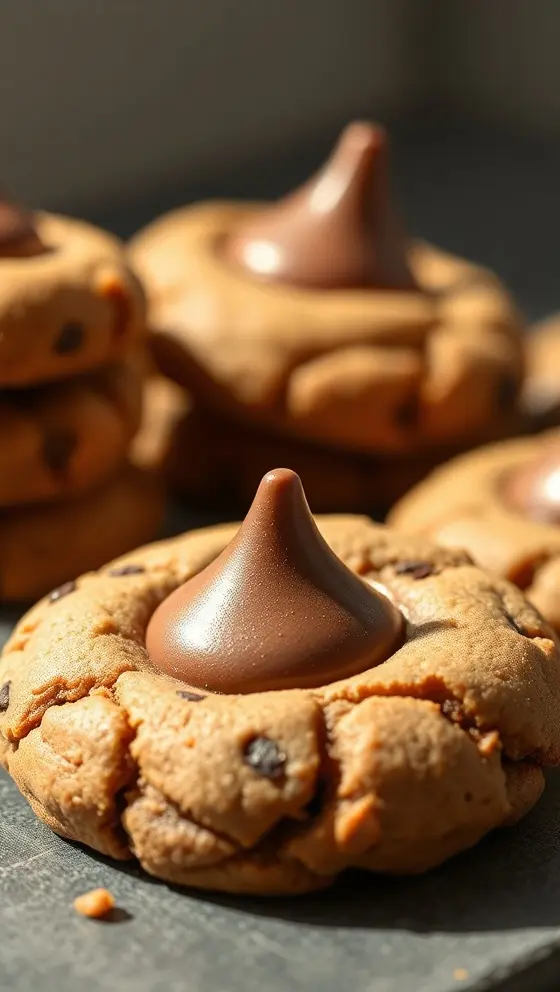
8. Create Thumbprints: With your thumb (or the back of a spoon), gently press into the center of each cookie ball to form a thumbprint. The indentation will hold your filling.
9. Fill with Chocolate or Jam: Add a small spoonful of chocolate chips or jam into each thumbprint. Be cautious not to overfill, as the filling can spill during baking.
10. Bake: Place the baking sheet in the preheated oven and bake for 12-15 minutes. Keep an eye on them towards the end of baking. You want them soft but set.
11. Cool Down: After baking, allow them to cool on the baking sheet for 5 minutes before transferring them to a wire rack to cool completely.
Nutritional Information
A single serving of Chocolate Thumbprint Cookies typically contains:
– Calories: 150
– Total Fat: 7 g
– Saturated Fat: 4 g
– Cholesterol: 20 mg
– Sodium: 50 mg
– Total Carbohydrate: 20 g
– Dietary Fiber: 1 g
– Sugars: 10 g
– Protein: 2 g
These numbers can vary based on your specific ingredients and serving sizes, but this overview gives you a clear idea of what to expect in terms of nutrition.
Tips
– Quality Ingredients: Always use high-quality cocoa powder and chocolate chips for the best flavor.
– Experiment with Fillings: While chocolate and jam are traditional, you can try other sweet fillings like peanut butter or Nutella for a delightful twist.
– Make them Ahead: These cookies hold up well in an airtight container for several days, making them perfect for meal prepping or gifting.
Alternative Methods
For those who prefer a slightly different approach, consider the following alternatives:
– Gluten-Free Version: Substitute all-purpose flour with a gluten-free blend, ensuring a balance is maintained to achieve a similar texture.
– Dairy-Free Option: Use vegan butter or coconut oil in place of regular butter, along with dairy-free chocolate chips.
These adjustments cater to various dietary restrictions without compromising on flavor or texture.
Common Mistakes to Avoid
– Not Chilling the Dough: Skipping the chilling period can result in cookies spreading too much, losing their shape.
– Over-Baking: It’s important to take the cookies out when they are soft and just set. They will continue to firm up as they cool.
– Forgetting to Preheat: Always preheat your oven; failing to do so can lead to uneven baking.
By being mindful of these common pitfalls, you can elevate your baking game and ensure that your Chocolate Thumbprint Cookies turn out perfectly every time.
Conclusion
In summary, Chocolate Thumbprint Cookies are a delightful addition to your baking repertoire. They are simple to make, visually appealing, and boast a delicious combination of flavors. Following the step-by-step instructions will help you achieve mouthwatering results every time. Don’t forget that these cookies are not just satisfying for your sweet cravings but are also a wonderful treat for sharing with friends and family. So, grab your apron and get ready to bake some Chocolate Thumbprint Cookies today! Be sure to return to our website for new and exciting recipes that will inspire your culinary adventures.
FAQs
Can I use regular chocolate instead of chips for the thumbprint filling?
Absolutely! Chopped chocolate can be used as a filling; just make sure it melts well and doesn’t spill over during baking.
How do I store leftover cookies?
Store them in an airtight container at room temperature for up to a week. They also freeze well for up to three months.
Can I use different flavored jams in my thumbprints?
Definitely! Feel free to explore various flavors like strawberry, blueberry, or even citrus jams to personalize your cookies.
By taking these insights into consideration, you’ll not only succeed in your baking efforts but also enjoy the process. Engage with every step, savor the aromas that fill your kitchen, and most importantly, indulge in the rich flavors of your homemade Chocolate Thumbprint Cookies. Happy baking!
Chocolate Thumbprint Cookies

Ingredients
- 1 cup unsalted butter, softened
- 1 cup granulated sugar
- 2 cups all-purpose flour
- 1/2 cup cocoa powder
- 1/4 teaspoon salt
- 1 teaspoon vanilla extract
- 1/2 cup jam or chocolate ganache for filling
Instructions
- Preheat the oven to 350°F (175°C).
- In a bowl, cream together the butter and sugar until light and fluffy.
- Mix in the vanilla extract.
- In another bowl, whisk together the flour, cocoa powder, and salt.
- Gradually add the dry ingredients to the wet ingredients, mixing until combined.
- Roll the dough into 1-inch balls and place them on a baking sheet.
- Make an indentation in the center of each ball using your thumb.
- Fill each indentation with jam or chocolate ganache.
- Bake for 12 minutes, then let cool on a wire rack.
Nutrition Information
- Calories: 120 kcal
- Protein: 2g